Node.js Quickstart#
This page provides step-by-step instructions for how to get quickly started using server-side Node.js on CodeRed Cloud.
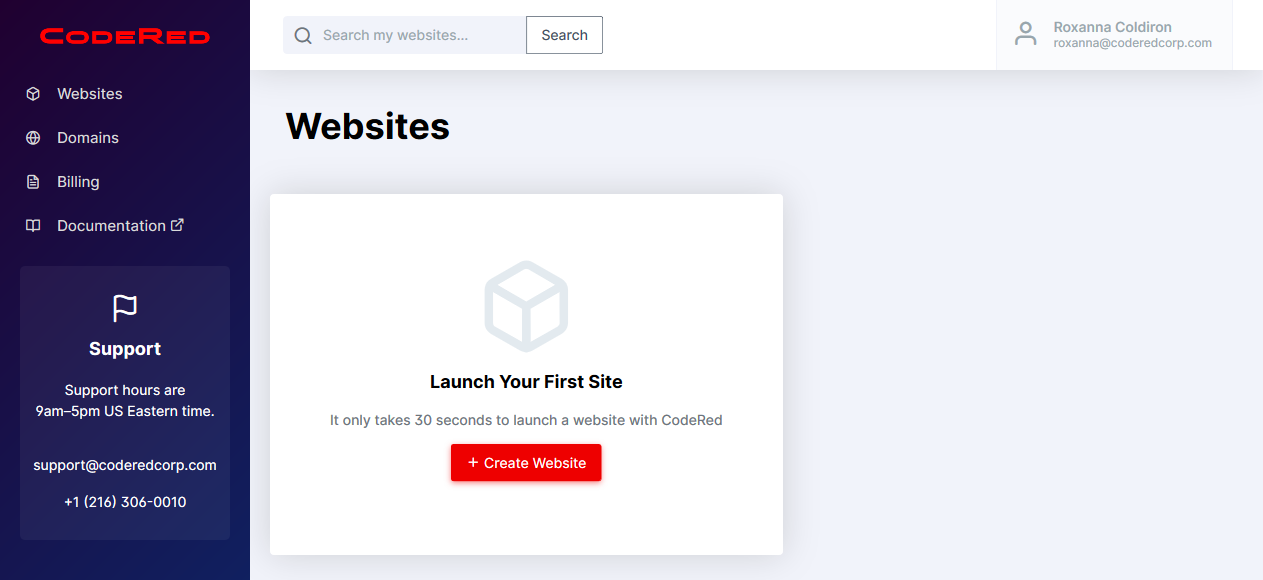
Once you have signed up for a CodeRed Cloud account and logged into your Dashboard, you are ready to get started with building your site!
Note
This guide only applies to server-side Node.js. For client-side projects, use Node to build static files and host those using Static HTML on CodeRed Cloud instead.
Launch Your Site#
Click the Create Website button to launch a new site.
The Handle that you create will be the website URL. Once you have filled out the basic information for your site, scroll down to Pick Your App. In this case, you want to choose Node.js (server-side). Select the Node version you want. Node apps on CodeRed Cloud do not include a database or any other services. We recommending using Django or Wagtail instead for database-backed applications.
Next, you will pick your plan level.
Now click the Launch App button to get it started!
You should see a pending screen at this point. This screen will only last for a few seconds while your site is being launched.
After your site is ready, you will see a dashboard that provides information about your site.
Set up the cr CLI#
The cr command line tool is the easiest way to manage your website on CodeRed Cloud. Install from: Install CodeRed CLI.
After installing cr, create an API key by running:
$ cr login
Then you can see your website info by running:
$ cr list
Get Your Project Source Code#
When launching your site, CodeRed Cloud created a very simple boilerplate Node app. If you’re curious, you can download the files to edit them.
Download using the cr command below. Replace WEBAPP with your website’s handle.
$ cr download WEBAPP
Or, you can download the code using using SFTP. Follow our SFTP Guide (your project is located in the www folder on the server).
Important: cr-run.sh#
The only requirement for server-side Node on CodeRed cloud is a special file named cr-run.sh. This file will be invoked by your app in production to start the server. Most likely, this will contain a single command as so:
#!/bin/sh
exec node --v8-pool-size=${WORKERS} app.js
Deploying Your Node Project#
From here, you can develop locally as you usually would.
Before deploying, always be sure to build your project for production. Then, deploy the built files only!
Most build tools, such as vite, nuxi, etc. will output to a ./dist/ or ./.output/ folder locally. Only deploy this folder!
Tips for running your Node app on CodeRed Cloud:
Only deploy built files. The node server is not responsible for performing build tasks, as this will negatively impact uptime and security of your site.
Include
cr-run.shin your built files. CodeRed cloud runs this file to start your node server.Always use port
3000. CodeRed cloud specifically looks for this port, and proxies web traffic using a production-grade web server using the domain name, SSL certificates, etc.Use environment variables to switch between staging and production environments. CodeRed Cloud sets the following environment variables automatically:
CR_ENV=prodin the production environment andstagingin the staging environment.NODE_ENVis always set toproduction.VIRTUAL_HOSTis the primary domain name your website is running under. This is preferable to hard-coding domains.WORKERSis the recommended number of worker processes based on the amount of resources allocated to your CodeRed Cloud plan. This is useful when using a server such as PM2 or using Node.js worker threads.
When ready to deploy your built code to the server, deploy using cr:
$ cr deploy --path ./dist/ WEBAPP
Or to deploy manually using SFTP:
Upload your built code to the server’s
wwwfolder using SFTP.Redeploy your app from the CodeRed Cloud Dashboard by going to the Deployment tab and clicking Deploy Production. This will create a fresh Node.js environment on the server.
Read more advanced configuration and server options in Node.js Server-Side Environment.