Django Quickstart#
This page provides step-by-step instructions for how to get quickly started using Django on CodeRed Cloud.
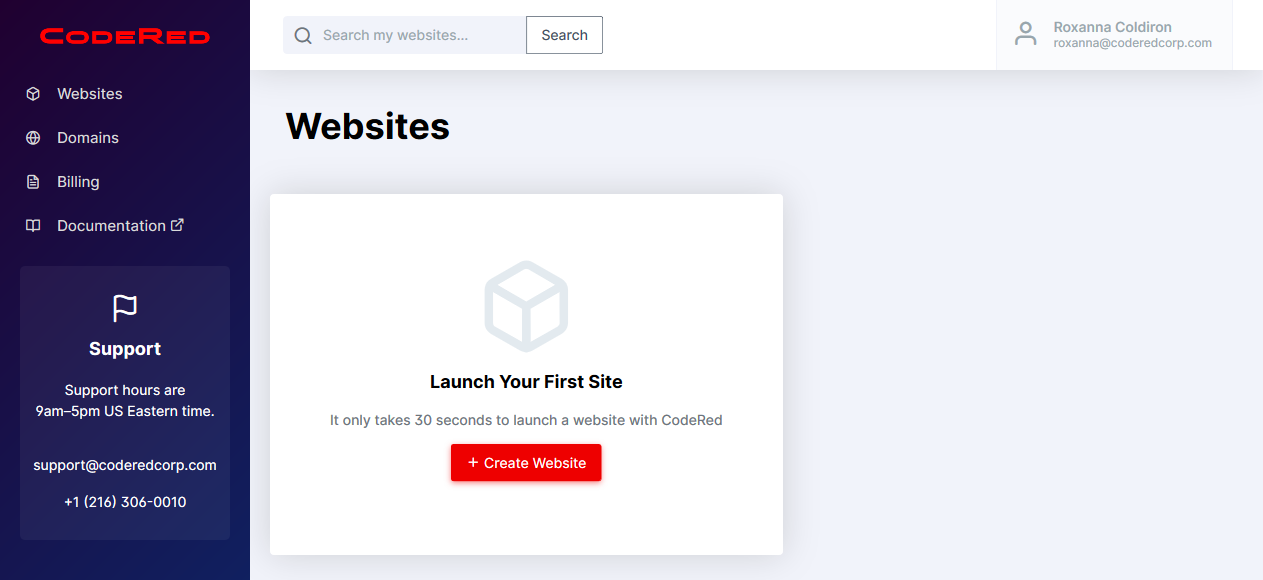
Once you have signed up for a CodeRed Cloud account and logged into your Dashboard, you are ready to get started with building your site!
Launch Your Site#
Click the Create Website button to launch a new site.
Now you will be able to name your project and input other settings.
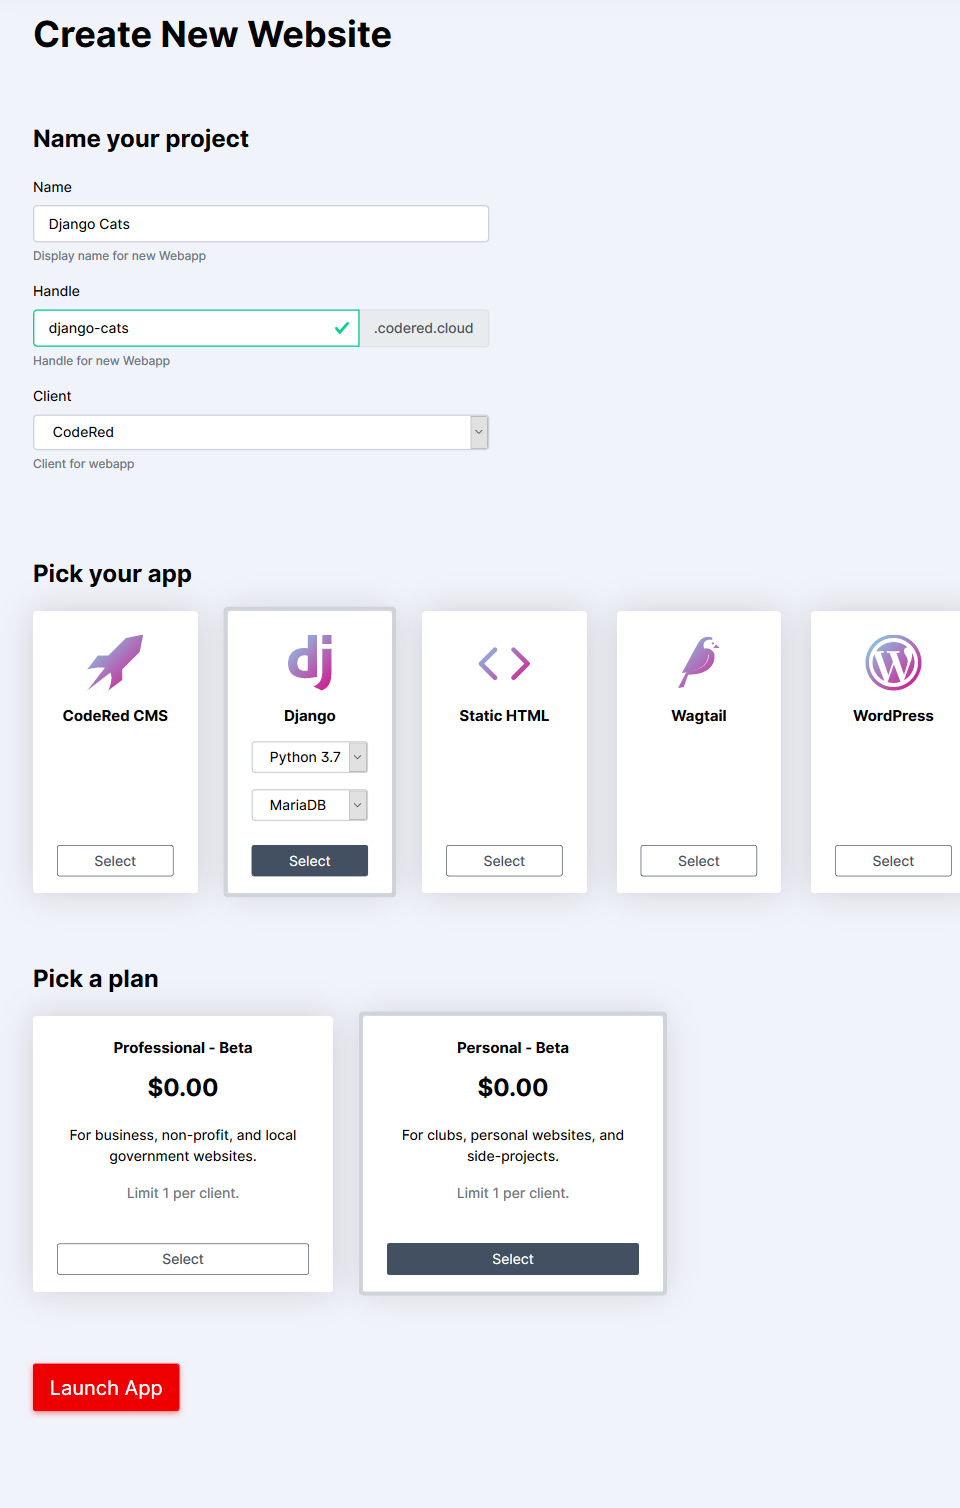
The Handle that you create will be the website URL. Once you have filled out the basic information for your site, scroll down to Pick Your App. In this case, you want to choose Django. Select the Python and database versions you want.
Next, you will pick your plan level. You may see more options than what is available in the screenshot. Choose the plan level that you need for your projects.
Now click the Launch App button to get it started!
You should see a pending screen at this point. This screen will only last for a few seconds while your site is being launched.
After your site is ready, you will see a dashboard that provides information about your site.
Setting Up Django#
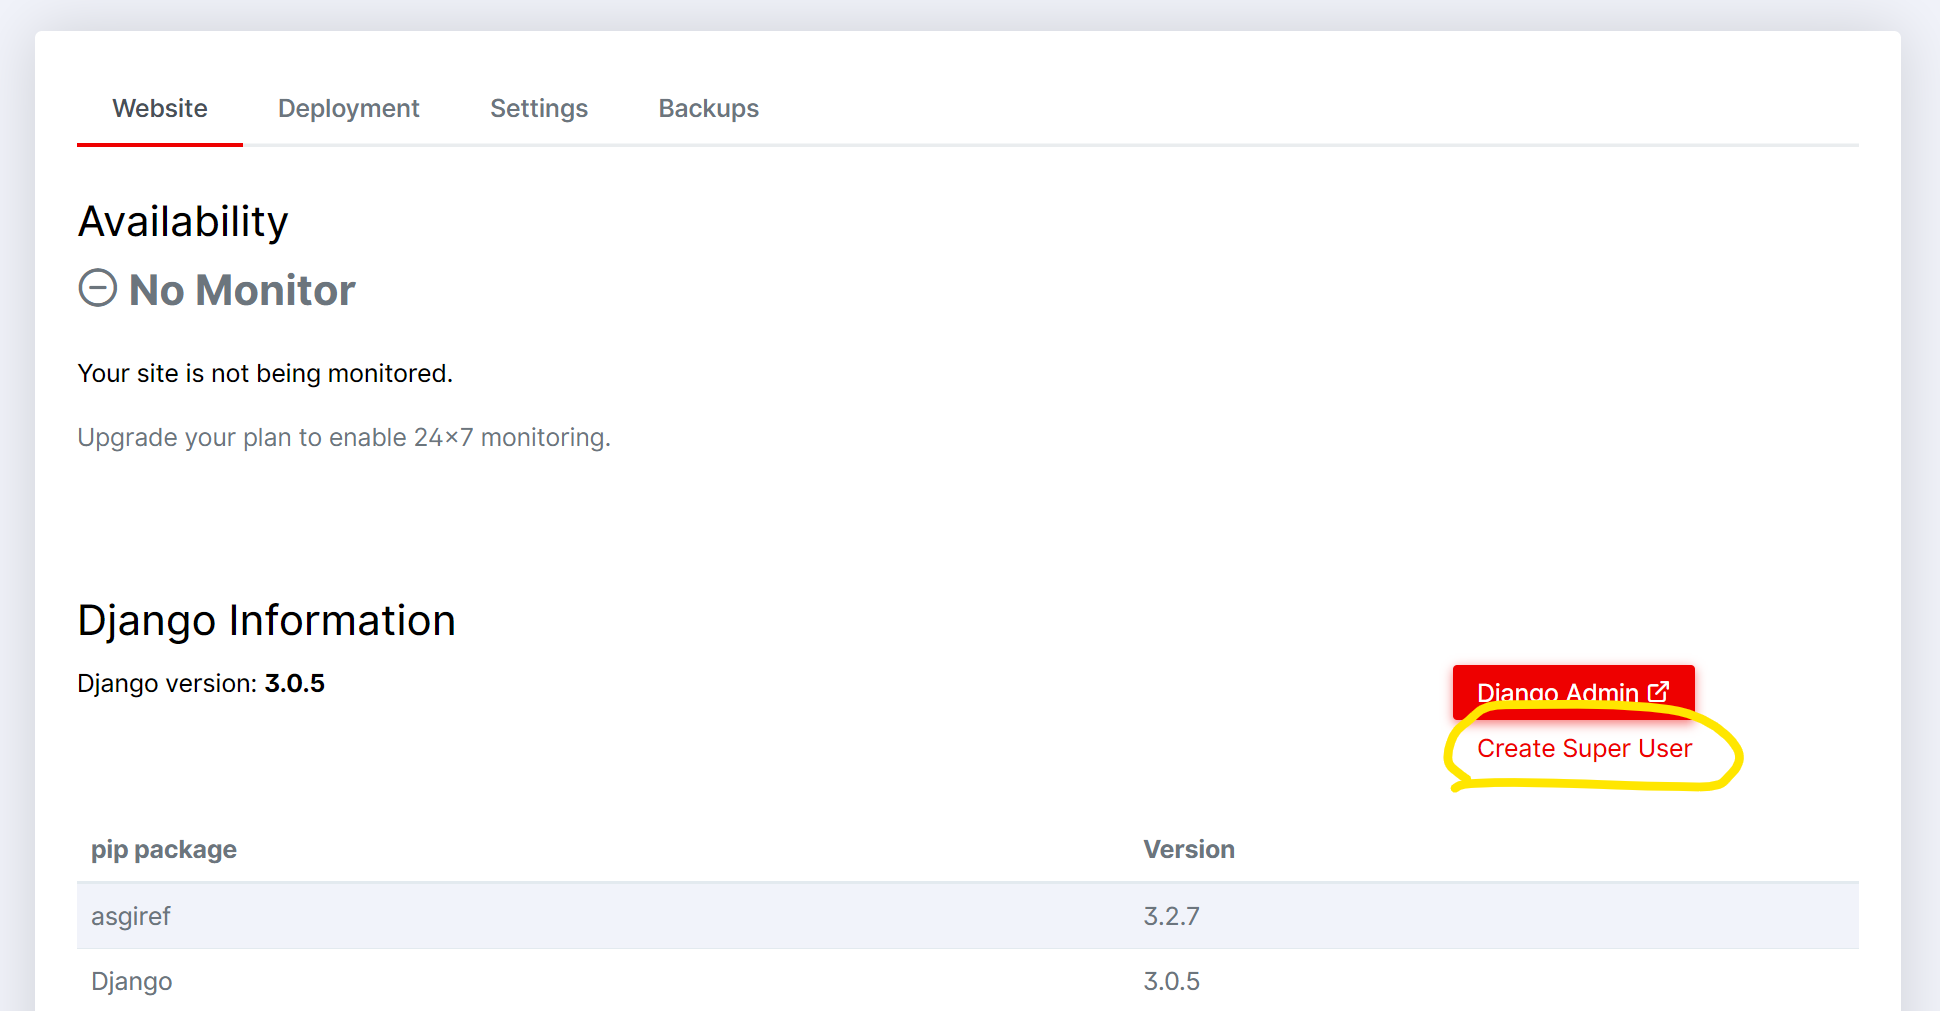
Now that your Django site is launched, you will need to create a superuser to access the Django Admin.
To log in to your new Django site:
From the CodeRed Cloud dashboard, click Manage under your website, then click the Create Superuser link. This will prompt you for an email address and username for the new account.
Once complete, you will be shown a password. Copy this password and store it somewhere safe, such as in a password manager.
Now login with your new account by clicking the Django Admin button and entering the username and password to log in to the Django Admin.
Set up the cr CLI#
The cr command line tool is the easiest way to manage your website on CodeRed Cloud. You can install using pip, or read the full guide at: Install CodeRed CLI.
$ pip install cr
After installing cr, create an API key by running:
$ cr login
Then you can see your website info by running:
$ cr list
Get Your Project Source Code#
When launching your site, CodeRed Cloud created a boilerplate Django project. We recommend downloading these files and storing them in version control.
Download using the cr command below. Replace WEBAPP with your website’s handle.
$ cr download WEBAPP
Or, you can download the code using using SFTP. Follow our SFTP Guide (your project is located in the www folder on the server).
Working with Your Django Project#
From here, you can develop locally as you usually would. When ready to deploy your local code to the server, deploy using cr :
$ cr deploy WEBAPP
Or to deploy manually using SFTP:
Upload your local code to the server’s
wwwfolder using SFTP.Redeploy your app from the CodeRed Cloud Dashboard by going to the Deployment tab and clicking Deploy Production. This will create a fresh Python environment on the server, install requirements, perform database migrations, and collect static files all at once.
Migrating Existing Django Sites#
To load an existing Django site into CodeRed Cloud:
Using SFTP, you may delete all of the files in the
wwwfolder on the server.Update your existing project code to include the necessary settings in
settings/prod.py(and optionallysettings/staging.pyto use the staging environment on Professional plans). These files must be named exactly so. Read our Django Environment Reference for examples of Django settings files.You can easily have
crupdate your settings for you by running:$ cr check WEBAPP
This will scan your current Django project and offer to fix the settings to work optimally with CodeRed Cloud.
If your site requires an existing database, or you need to clear out the current database and start fresh, Reset your CodeRed Cloud Database.
At this point, you may now copy your existing project code to the server and deploy.
$ cr deploy WEBAPP
Read our detailed migration guide here.